Leave Your Message
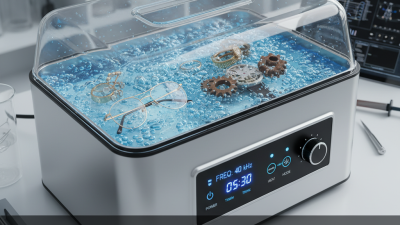
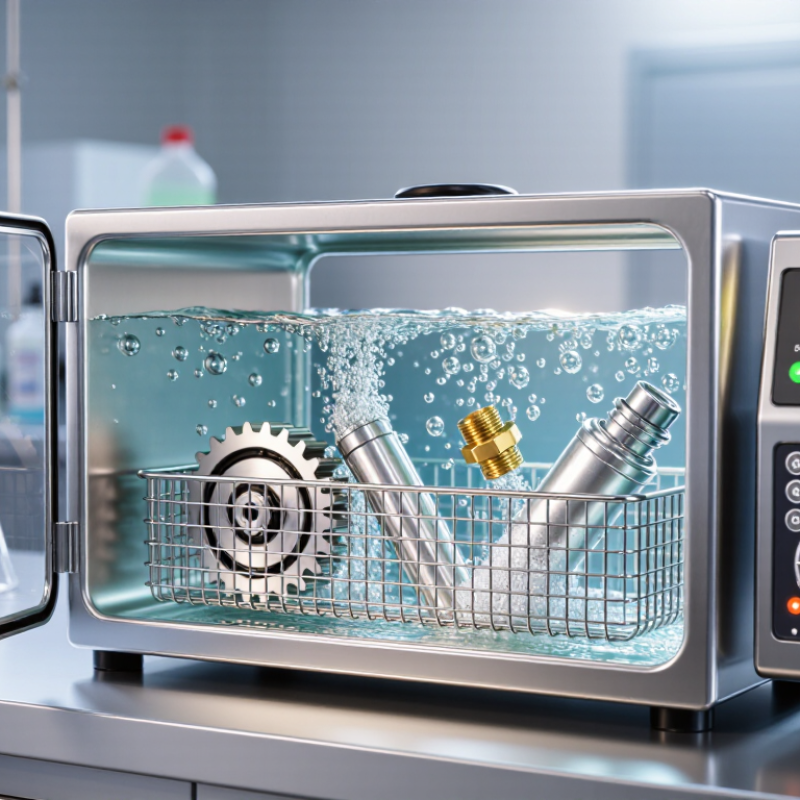
Parts cleaning often fails in places a brush cannot reach. Blind holes, narrow channels, and threaded surfaces can hold oil, dust, and polishing compound. An Ultrasonic Cleaning Tank reaches these hidden areas through controlled sound waves. Transducers create cavitation bubbles in the cleaning solution. These bubbles form and collapse rapidly around the parts. Their micro-action loosens contamination from complex surfaces.
Small details matter. Kevin S. Suslick, a respected sonochemistry researcher, describes ultrasound as “sound with frequencies above the human hearing range.” This principle supports ultrasonic cleaning, but frequency alone does not guarantee excellent results. Tank size, operating frequency, solution chemistry, temperature, and cleaning time must match the parts. A stainless-steel component may need different treatment from aluminum, brass, or delicate coated surfaces.
The practical advantage is consistency. Operators can place multiple parts in a basket, set a controlled cycle, and repeat the process. This can reduce manual scrubbing and improve access to difficult geometries. Yet an Ultrasonic Cleaning Tank is not a universal shortcut. Poorly chosen detergent may stain surfaces, damage coatings, or leave residue. Excessive heat can create problems too. The best results come from testing a small batch, inspecting the cavities, and recording measurable outcomes. That step is easy to skip. It should not be. Clean-looking parts may still hide microscopic residue, especially after an overly short cycle. Therefore, choosing ultrasonic cleaning means evaluating the whole process, not simply buying a larger tank.
Why Choose an Ultrasonic Cleaning Tank for Parts Cleaning?
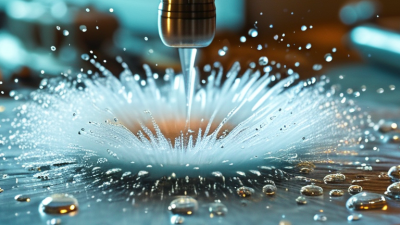
Ultrasonic cavitation uses sound waves to clean complex parts more thoroughly than ordinary soaking. At 20–40 kHz, transducers send rapid pressure waves through a liquid bath. These waves create microscopic bubbles during low-pressure cycles. The bubbles then collapse during high-pressure cycles. This is cavitation.
The collapse produces tiny shock waves and liquid microjets around the part. They reach threads, blind holes, grooves, and narrow channels where brushes may struggle. Lower frequencies near 20 kHz usually create larger, more energetic bubbles. They can remove stubborn oil, carbon, and industrial debris. Frequencies near 40 kHz form smaller bubbles and often provide gentler, more detailed cleaning. The best setting depends on the part material, contamination, and cleaning solution.
In practical work, cavitation is not perfectly uniform. Parts can shadow one another, and heavy baskets may reduce sound exposure. I have seen clean-looking surfaces retain residue inside deep cavities. That result is easy to miss.
Tips: Keep parts separated, avoid overloading the tank, and rotate complex components when possible. Use a compatible solution and control temperature carefully. Start with a lower cleaning time, then inspect the part under proper lighting. Some delicate finishes need less power, not more. Test samples before full production. Cavitation helps, but it is not magic.
| Parameter | Typical Value or Range | What It Means for Parts Cleaning | Practical Consideration |
|---|---|---|---|
| Ultrasonic operating frequency | 20–40 kHz | A commonly used low-to-medium frequency range for removing oils, chips, polishing compounds, and particulate soil from industrial parts. | Lower frequencies generally produce more energetic cavitation; higher frequencies generally produce smaller bubbles and can reach finer features more gently. |
| Cavitation mechanism | Rapid formation, growth, and collapse of vapor-filled bubbles | Bubble collapse creates localized microjets and pressure pulses that help dislodge contamination from surfaces, recesses, holes, and partially shielded areas. | Cavitation is a physical cleaning action; the cleaning solution still determines how effectively oils, salts, and other soils are chemically loosened. |
| Typical bath temperature | Approximately 40–60°C (104–140°F) | Moderate heating can lower oil viscosity, improve detergent performance, and accelerate soil removal. | Use the temperature limit specified for the part, coating, seal, adhesive, and cleaning chemistry. Higher temperature does not always produce better results. |
| Cleaning chemistry | Water-based alkaline, neutral, or mildly acidic formulations | The chemistry emulsifies, dissolves, or suspends specific contaminants while ultrasonic energy improves contact with the part surface. | Select the solution according to the substrate, soil type, required corrosion protection, wastewater requirements, and operator-safety controls. |
| Degassing requirement | Often 5–15 minutes after filling or solution replacement | Removing dissolved air allows more consistent bubble formation and can improve cavitation uniformity. | The required time varies with water quality, bath volume, temperature, detergent concentration, and tank power. |
| Common compatible substrates | Stainless steel, carbon steel, aluminum, copper alloys, glass, and many hard plastics | Ultrasonic tanks can clean complex manufactured parts without relying only on brushes or direct spray impact. | Test aluminum, soft metals, plated surfaces, thin coatings, bonded assemblies, and delicate finishes before production use. |
| Suitable part geometries | Blind holes, slots, channels, threads, mesh, and intricate external surfaces | Liquid can enter areas that are difficult to reach with manual wiping or conventional contact tools. | Orient parts to prevent trapped air and allow solution flow. Avoid nesting or tightly stacking components in the basket. |
| Typical cleaning time | Approximately 2–20 minutes per cycle | Cycle time can be shorter for loose particulate soil and longer for aged oils, carbonized residue, or complex assemblies. | Validate time using cleanliness testing rather than relying on a fixed standard value. |
| Basket loading | Parts should be separated and fully immersed | Open spacing improves liquid circulation and exposes more surface area to cavitation. | Do not place parts directly on the tank bottom or overload the basket; both conditions can create shadowed cleaning areas. |
| Rinsing and drying | Rinse with clean water, followed by air, heated-air, or other validated drying | Rinsing removes detergent residue and suspended soil; drying reduces water spots and flash corrosion risk. | Dry promptly when cleaning ferrous metals or parts with tight passages that can retain moisture. |
| Main process advantages | Repeatable immersion cleaning with reduced manual scrubbing | The process can improve access to intricate surfaces, reduce labor-intensive contact cleaning, and support consistent batch processing. | Performance depends on frequency, acoustic power distribution, bath condition, temperature, chemistry, part placement, and validated operating limits. |