How to Choose the Best Portable Conductivity Meter?
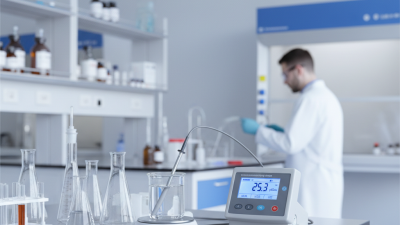
Choosing the right Portable Conductivity Meter is not simply a matter of comparing prices or screen sizes. It is a measurement decision. The best instrument should match your water type, conductivity range, testing location, and daily working conditions. A meter used beside a laboratory sink faces different demands from one used near a treatment tank or irrigation line.
Arnold O. Beckman, founder of Beckman Instruments, often reminded engineers, “The difference between a good measurement and a poor measurement is the amount of care taken in making it.” His principle remains highly relevant. Even an advanced Portable Conductivity Meter can produce doubtful results when the probe is dirty, calibration is rushed, or the sample temperature is ignored.
Small details matter. Check whether the meter supports automatic temperature compensation. Examine its cell constant, accuracy, response time, and calibration options. A clear display helps in bright outdoor conditions. A sealed housing matters when splashes are unavoidable. Data logging can also prevent handwritten errors, although stored data still needs review.
No meter is perfect. That is worth remembering.
Some buyers focus too heavily on advertised accuracy. In practice, probe maintenance and correct sampling often influence results more than a tiny specification difference. A practical choice should feel balanced: reliable enough for decisions, simple enough for repeated use, and durable enough for real working environments. This guide examines those factors carefully, including several details that are easy to overlook before purchase.
Define Conductivity Range: From 0.05 µS/cm for Pure Water to 200 mS/cm
How to Choose the Best Portable Conductivity Meter?
Define the conductivity range before comparing portable meters. Ultrapure water can measure near 0.055 µS/cm at 25°C, according to ISO water-quality measurement principles. That value is extremely low. A meter designed for general freshwater may not resolve it reliably. The USGS reports that drinking water often falls between 50 and 1,500 µS/cm, while seawater approaches 50,000 µS/cm. These figures show why one range rarely fits every task.
For pure-water checks, choose a meter with a low limit around 0.05 µS/cm and stable temperature compensation. For rivers, process water, or aquaculture, a range reaching several thousand µS/cm may be enough. Saline samples need more headroom. A 200 mS/cm upper range equals 200,000 µS/cm and prevents overload during concentrated measurements. It also gives flexibility for brines and industrial cleaning solutions.
Read the specifications carefully. Some meters display a wide range but lose accuracy near its edges. That detail is easy to miss. ASTM D1125 identifies conductivity measurement practices, while ISO 7888 emphasizes temperature control and consistent procedures. Measure standards near your expected sample value, not only at the middle of the scale. I have found that field conditions complicate neat specifications: dirty probes, bubbles, and changing sample temperature can distort results. A wider range helps, but it cannot repair poor sampling technique.
Select Probe Technology for TDS, Salinity, and Conductivity Testing
How to Choose the Best Portable Conductivity Meter?
Select Probe Technology for TDS, Salinity, and Conductivity Testing
A portable conductivity meter is only as reliable as its probe. Define the sample before choosing the instrument. Conductivity measures ion movement in water. TDS estimates dissolved solids from conductivity. Salinity describes the concentration of dissolved salts. These values are related, but they are not interchangeable. A meter should let you select the correct measurement mode and compensation settings.
For routine water testing, a two-electrode probe is often practical and easy to maintain. It works well with low to moderate conductivity samples. However, electrode polarization can affect readings in highly conductive solutions. A four-electrode probe usually handles a wider range with better stability. Inductive probes can suit salty, dirty, or corrosive samples because the sensing elements avoid direct electrical contact. Check the expected range carefully. A sophisticated probe cannot fix a poor range choice.
Temperature compensation is essential. Water at different temperatures can produce noticeably different readings. Select a probe with a built-in temperature sensor and a suitable cell constant. Calibrate with fresh, traceable standards, then rinse the probe with clean water. I have found that rushing the stabilization period creates false confidence. It is easy to blame the meter when the sample was poorly mixed. Field notes should record temperature, sample condition, calibration date, and unusual observations. Even careful users miss details sometimes.
Verify Field Durability with IP67 Protection and Calibration Options
How to Choose the Best Portable Conductivity Meter?
Verify Field Durability with IP67 Protection and Calibration Options
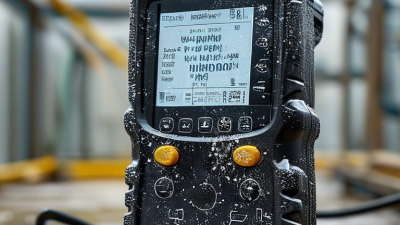
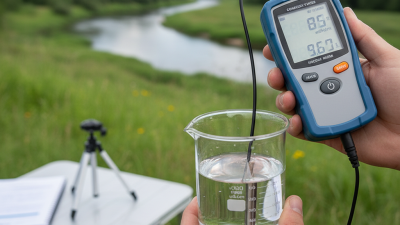
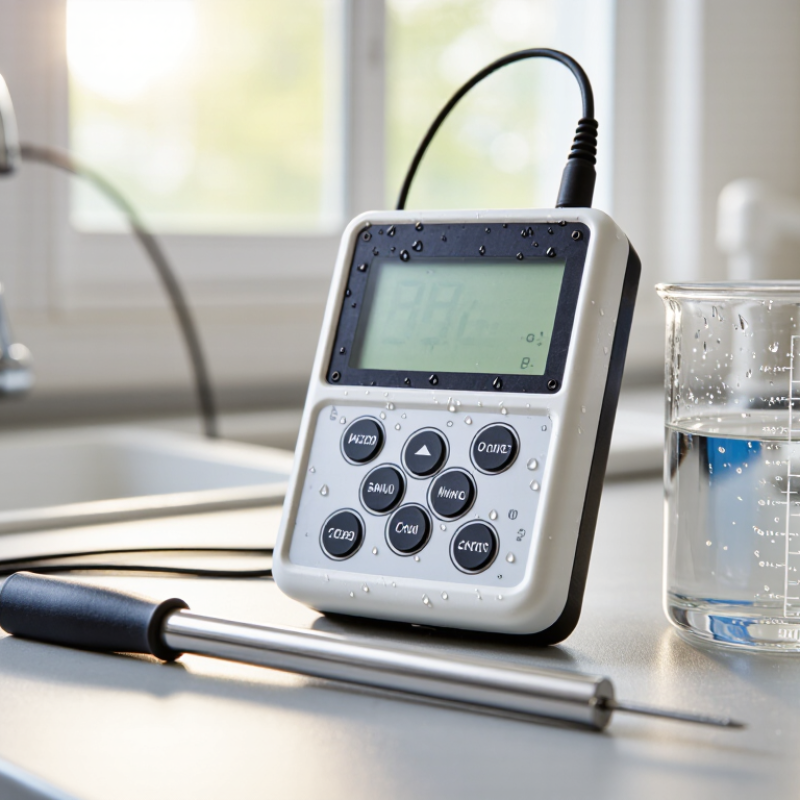
A portable conductivity meter must survive more than careful laboratory handling. In the field, it may face rain, splashed water, dust, and accidental drops. An IP67 rating offers strong protection against dust and temporary immersion under tested conditions. However, it does not make the meter indestructible. Check the manufacturer’s test details and inspect seals regularly.
Calibration flexibility matters just as much. Choose a meter supporting suitable conductivity standards for your measurement range. One-point calibration may work for routine checks, while multi-point calibration can improve confidence across low and high readings. Automatic temperature compensation is useful, but it cannot correct a damaged or poorly cleaned probe. Small errors start there.
Keep the process practical. Rinse the sensor with clean water, remove trapped air bubbles, and allow the reading to stabilize. Record the standard value, temperature, date, and operator. A protective case and a replaceable probe can reduce downtime during fieldwork. Still, calibration is not a substitute for maintenance. That assumption causes trouble.
Before purchasing, check whether the meter stores calibration history and signals unstable readings.
These features support traceability and help teams review questionable results. I would also test the device while wearing gloves and working in poor weather. A clear display is valuable then. Some specifications look impressive on paper, yet the buttons may feel awkward outdoors. Testing those details can prevent an expensive mistake.