Top 10 Tips for Using a Lab Conductivity Meter Effectively
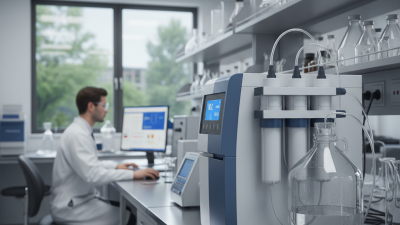
In laboratory settings, accurate measurements are crucial for obtaining reliable data, and one important instrument that facilitates such measurements is the Lab Conductivity Meter. This device is essential for evaluating the electrical conductivity of solutions, which reflects the concentration of ions present and is vital in numerous scientific and industrial applications. However, to harness its full potential, users must understand the nuances of operating this instrument effectively.
Using a Lab Conductivity Meter requires not only technical knowledge of its functionality but also a set of best practices to ensure precise results. By following specific tips and guidelines, users can optimize their measurements, minimize errors, and enhance the reliability of their data. In this article, we will discuss the top 10 tips for using a Lab Conductivity Meter effectively, covering aspects such as calibration, sample preparation, and maintenance. Whether you are a seasoned professional or a newcomer to laboratory work, these insights will equip you with the necessary skills to utilize this essential tool proficiently and confidently.
Understanding the Basics of Lab Conductivity Meters
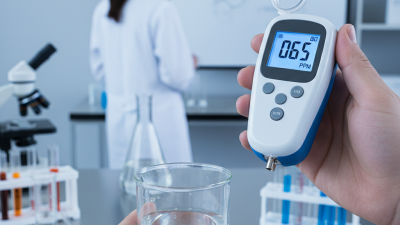
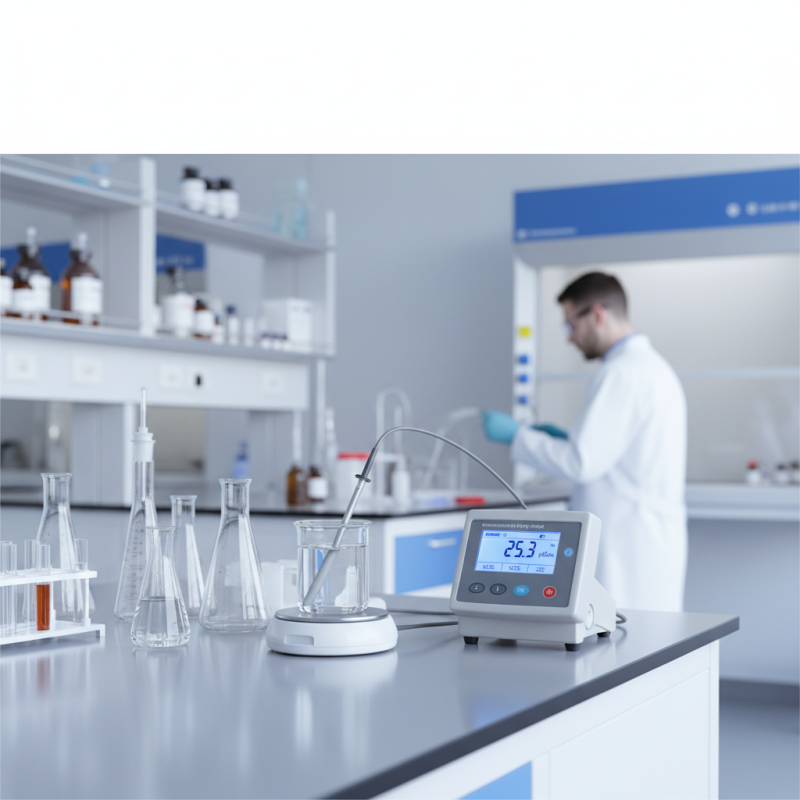
Lab conductivity meters are essential tools used for measuring the ability of a solution to conduct electricity, which is directly related to the concentration of ions in that solution. Understanding how these meters work is crucial for obtaining accurate readings. Typically, conductivity meters operate based on the principle of measuring the electrical resistance of the solution. The higher the concentration of ions, the lower the resistance and thus the higher the conductivity. These meters typically provide readings in microsiemens per centimeter (µS/cm), which is a standard unit of measurement for conductivity.
To use a conductivity meter effectively, one must first ensure that the device is properly calibrated. This entails using standard solutions with known conductivity values to ensure that the readings obtained from the meter are accurate and reliable. It is also important to regularly clean the electrodes of the meter since impurities can affect measurements. Additionally, factors such as temperature can significantly influence conductivity readings; therefore, most modern meters include automatic temperature compensation features that help adapt the readings based on temperature changes in the solution being tested. Properly understanding these fundamentals not only aids in maximizing the accuracy of the measurements but also extends the life of the meter itself.
Choosing the Right Conductivity Meter for Your Needs
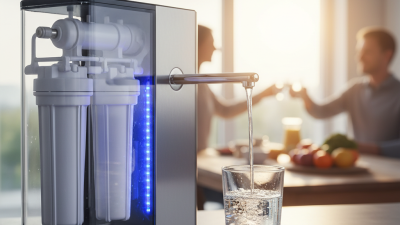
When selecting a conductivity meter, it's crucial to consider the specific requirements of your application and the environment in which it will be used. Start by evaluating the range of conductivity you need to measure. Different meters are designed for varying levels of conductivity, from low-range measurements for pure water to high-range applications for wastewater or industrial processes. Choosing a meter that suits your conductivity range ensures accurate readings and effective monitoring.
Another important factor is the meter’s probe type and construction materials. Probes made from different materials, such as glass or plastic, can affect durability and measurement accuracy in certain environments. For example, if you’re working with corrosive substances, opting for a meter with a robust probe is essential. Additionally, consider features like temperature compensation, which can greatly enhance measurement precision, especially in fluctuating temperature conditions. By meticulously assessing these factors, you can select a conductivity meter that meets your needs and ensures reliable performance in your laboratory or fieldwork.
Preparing Solutions for Accurate Conductivity Measurements
When preparing solutions for accurate conductivity measurements, the quality and concentration of the solutions are paramount. Start by ensuring that you use high-purity reagents to avoid contamination that can skew results. Distilled or deionized water should be the base for all solution preparations, as impurities in tap water can introduce variability in conductivity readings. Always measure and mix solutions carefully, adhering to the specific concentrations required for your experiments.
To enhance the accuracy of your conductivity measurements, it’s advisable to prepare a series of standard solutions of known conductivity. This practice not only establishes a reliable calibration curve but also helps in identifying any inconsistencies in your meter’s readings. Additionally, ensure that solutions are at a stable temperature; conductivity can fluctuate with temperature variations.
Regularly clean your conductivity meter and its electrodes according to the manufacturer’s guidelines. Residue from previous samples can interfere with new measurements, leading to inaccurate readings. Lastly, always allow the meter ample time to stabilize before taking a reading, ensuring that you capture the most accurate data possible. These simple yet effective tips will aid in achieving reliable and precise conductivity measurements in your laboratory work.
Conductivity Measurements of Different Solutions
Calibrating Your Conductivity Meter: Step-by-Step Guide
Calibrating your conductivity meter is essential for accurate measurements and reliable results in laboratory settings. Begin by gathering the necessary calibration solutions, which should be specifically formulated to match the range of conductivity you expect to measure. Make sure to choose a solution that is fresh and within its expiration date to avoid discrepancies in readings. Before starting the calibration process, ensure that the meter is clean and free from any contaminants. Rinse the probe with distilled water and gently blot it dry with a lint-free cloth.
Once you're ready, immerse the conductivity probe in the calibration solution. Allow a few moments for the reading to stabilize on the meter's display. Depending on the design of the meter, you may need to adjust the calibration settings by following the manufacturer’s instructions. For most meters, this will involve pressing a calibration button or using the calibration mode. If the reading does not match the known value of the solution, adjust the meter accordingly until the display aligns with the expected conductivity level. Repeat this process for each calibration point necessary, ensuring to thoroughly rinse the probe between solutions to prevent cross-contamination.
After completing the calibration, it's vital to document the process. Record the calibration values and any adjustments made, as this information will be crucial for maintaining consistency in your future measurements. Regular calibration checks should be part of your routine maintenance to ensure that your conductivity meter provides precise and repeatable results whenever you conduct tests in the lab.
Top 10 Tips for Using a Lab Conductivity Meter Effectively - Calibrating Your Conductivity Meter: Step-by-Step Guide
| Tip Number |
Tip Title |
Description |
| 1 |
Regular Calibration |
Calibrate the meter regularly to ensure accuracy. |
| 2 |
Use Standard Solutions |
Utilize standard solutions for calibration to maintain consistency. |
| 3 |
Temperature Compensation |
Make sure the meter has temperature compensation capabilities. |
| 4 |
Clean the Probes |
Keep the probes clean to avoid contamination and inaccurate readings. |
| 5 |
Avoid Air Bubbles |
Ensure no air bubbles are trapped on the probes during measurement. |
| 6 |
Measure in Stable Conditions |
Perform measurements in stable temperature and pressure conditions. |
| 7 |
Store Properly |
Store the meter and probes as recommended by the manufacturer. |
| 8 |
Use Appropriate Range |
Select the correct measurement range for the solution being tested. |
| 9 |
Document Readings |
Keep a record of all measurement results for future reference. |
| 10 |
Review Calibration Data |
Regularly review and analyze calibration data to ensure accuracy. |
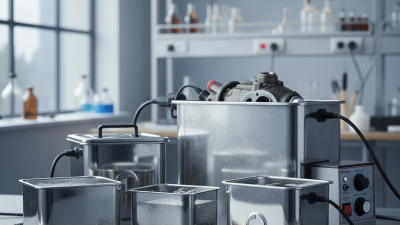
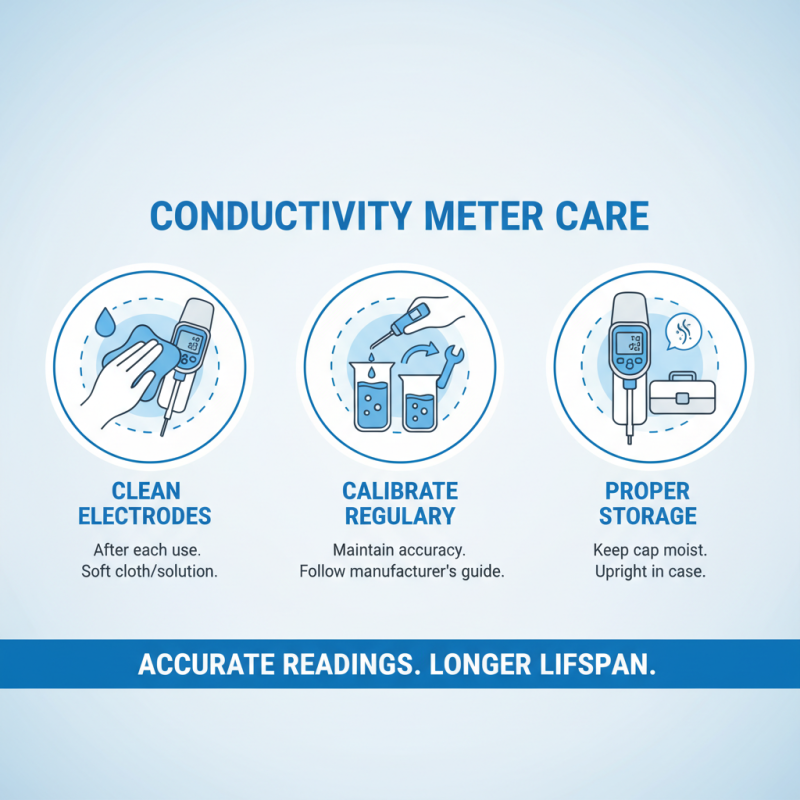
Maintaining and Storing Your Conductivity Meter Properly
Proper maintenance and storage of your conductivity meter are essential for ensuring accurate readings and prolonging the lifespan of the device. After each use, it's important to clean the electrodes thoroughly to remove any residue that could interfere with future measurements. Use a soft cloth or a specific cleaning solution recommended for your meter, making sure to avoid abrasive materials that might scratch the electrodes. Additionally, calibrate your meter regularly according to the manufacturer's instructions to maintain its accuracy and reliability.
When it comes to storage, choose a location that is dry and at a stable temperature to prevent any damage from extreme conditions. Store the meter in its protective case when not in use, and ensure the electrodes are stored in a hydration solution if required. Avoid storing the meter near strong chemicals or in direct sunlight, as this can degrade the materials over time. By following these simple yet effective storage practices, you can ensure that your conductivity meter remains in optimal condition for future experiments and measurements.